SENDING CHECKLIST
Helpful Checklist Before You Send
Here is a helpful list to make sure your email blast delivers a professional and legal email to your customers.
CHECK 1:
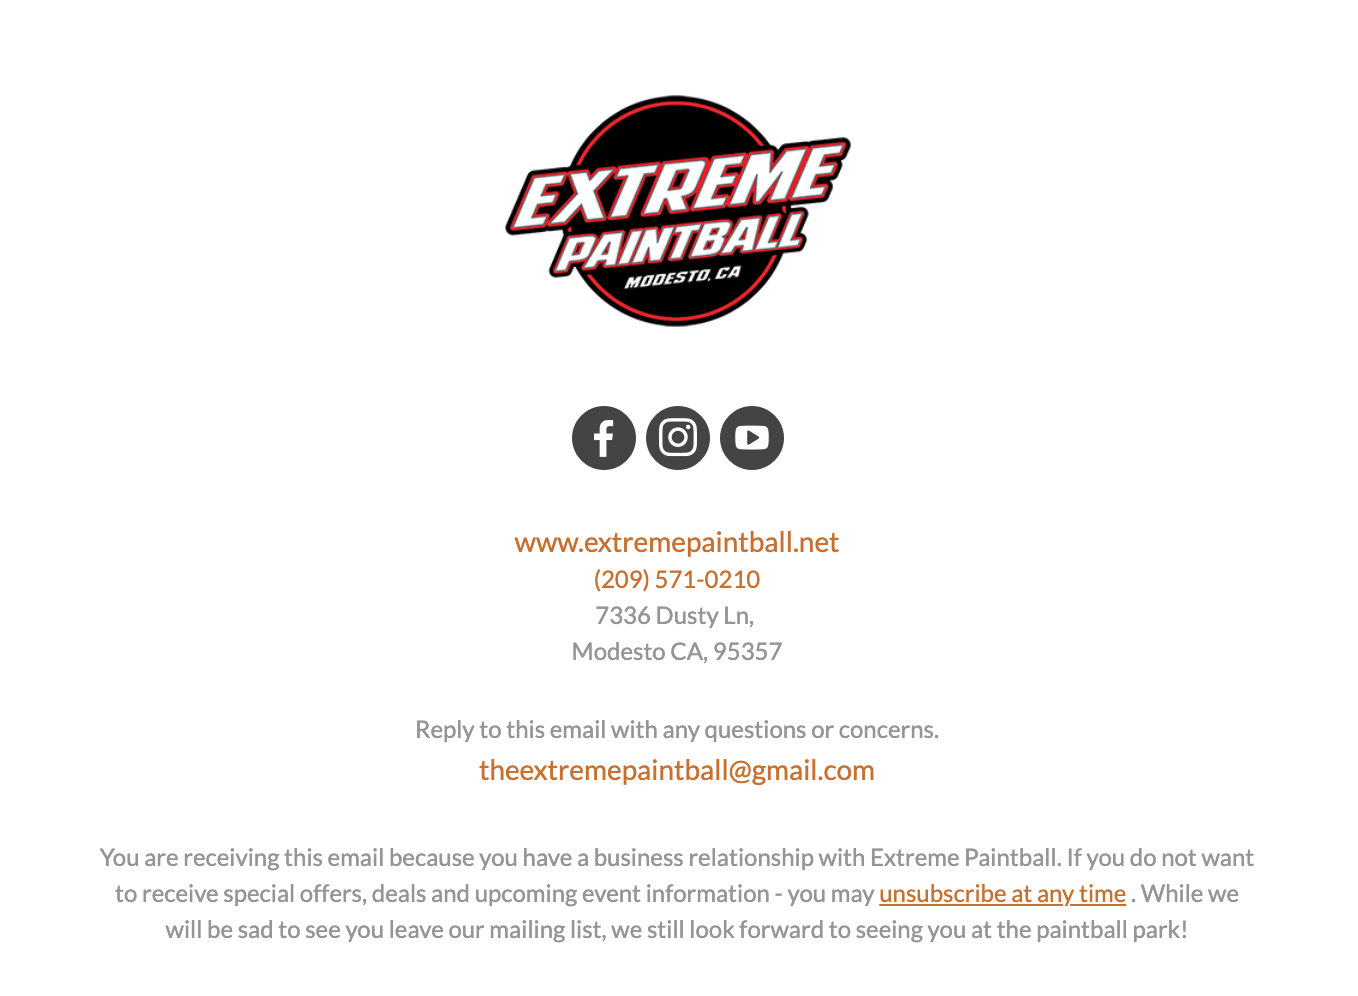
Vital Legal Requirements (Footer)
Mailing Address
Reply Email
Unsubscribe Link (details)
See sample footer >>>>
CHECK 2:
Adjust Your Subject Line
The subject lines job is to "get an OPEN"
SUBJECT: Remove admin words like "V2" or "Friday Send"
Create a good subject line that will get your customers to open your email. There is an art to subject lines, think of it like a magazine cover - get them to turn to page 60 with a good headline.
Upcoming Paintball Event Jan 24th
or
- You are invited to an upcoming Paintball Event (details inside)
- Important intel for upcoming Paintball Event
- Registration opening for upcoming paintball event
TITLE: Add admin words like "V2" or "Friday Send". You can also set a title for the email, this will only be visible to you and not the customer. Black Friday Email #1...etc This helps you keep your emails organized on the backend.

CHECK 3:
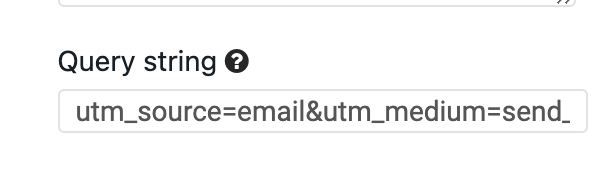
Add to the query string
For Google Analytics tracking, we have set up the entire code by default, all you have to do is add the campaign name on the end. Use a short name that you can identify.
Black Friday email could be =bf_1 (use underscores between)
The default code is installed:
utm_source=email&utm_medium=send_constant&utm_campaign=
Just add your campaign title to the end
utm_source=email&utm_medium=send_constant&utm_campaign=bf_1
CHECK 4:
TEST TEST TEST
Always send yourself and others a test email. By default your test email has [TEST] before the subject line. Often times most mistakes are visible once it hits your actual inbox. This lets you view the email as your customer.
Test email check list:
- Subject Line
- Sub-header Line
- Check all the links
- Review for typos and information errors
- Check footer (address, reply email and unsubscribe)

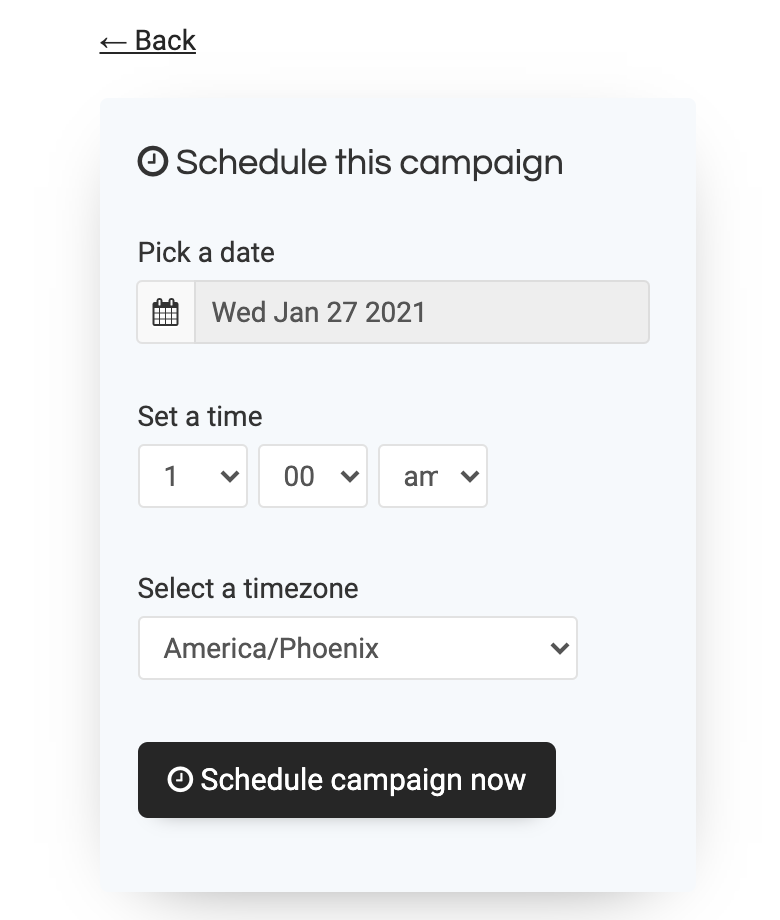
CHECK 5:
SCHEDULE YOUR EMAIL (DO NOT JUST SEND)
We recommend you schedule every email, this gives you one last chance to review and make sure everything is correct. Once it is sent, it is sent, there are no edits like social media, so make sure to give yourself as many chances as possible. Send one last test prior to scheduling. Once you schedule it, look over the test for final check.
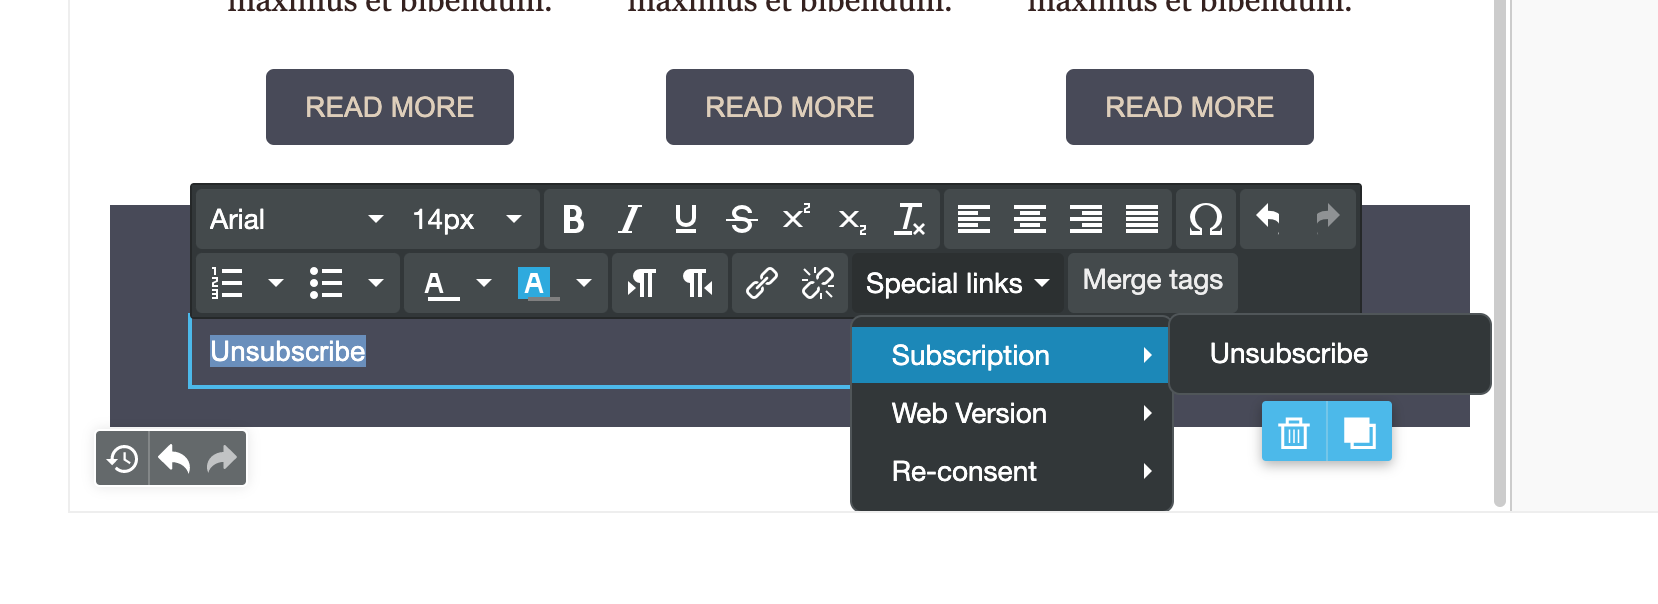
How to install an Unsubscribe Link
How to add an unsubscribe link to your campaign.
If you are creating a brand new campaign, you must add an unsubscribe link to the footer. It is very easy, just add a text line with the word "unsubscribe", highlight and click Special Links > Subscription > Unsubscribe
That's it, it is all set.
You can add just the word or add text around it to try to soften the person from unsubscribing by reminding them who you are and what they might miss out on. Be kind.